In Iristrace, users assigned to a department can, by default, view all checklists created within that department. However, you have the option to further control which checklists users can view, create, or manage by customizing the template settings.
Assigning users to templates #
Through template configuration, you can define three levels of access to checklists. Below are the available options:
1. Access to all #
In this configuration, users assigned to a department will be able to view all checklists created within that department. This is also the default behaviour of Iristrace when templates are not specifically restricted.
2. Access only to own (default setting when modifying access to templates) #
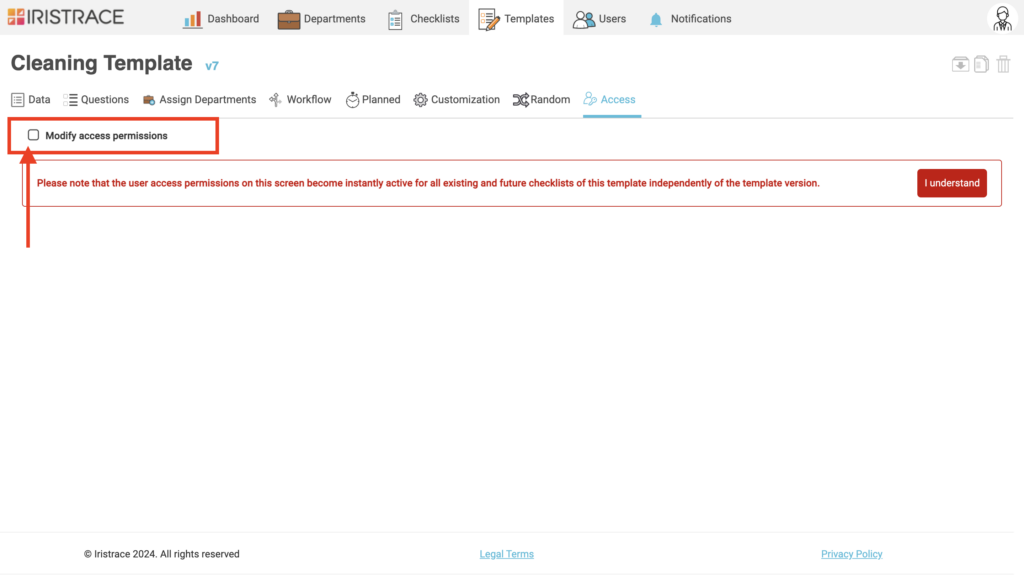
With this option, users can only view the checklists they have created themselves. As soon as you check the Modify access permissions checkbox, the system will automatically move all users to Access only to own.
They can also access checklists to which they have been individually assigned.
As a reminder, it is possible to assign users individually to checklists by following these steps:
- Access the desired checklist.
- Click on the blue “Add User” button.
- Select the users you want to assign.
This individual assignment is the strongest permission. It works independently of user-department assignment, and of user-template assignment. It is often used in combination with users that are not assigned to any department, nor to any template.strongest permission. It works independently of department or template assignment and is often used in combination with users who are not assigned to any department or template.
3. No Access #
With this setting, users will not be able to view any checklist related to the template, not even those they created in the past, if subsequently their permission was removed. Additionally, the template will not be visible in their list of templates when creating a checklist.
The template will also not be shown anymore in the Templates list, even if a user has the View templates permission, or the Manage templates permission
Users will still be able to access checklists that were individually assigned to them.
How to configure checklist access controls for a template #
To modify user access to checklists generated by a template, follow these steps:
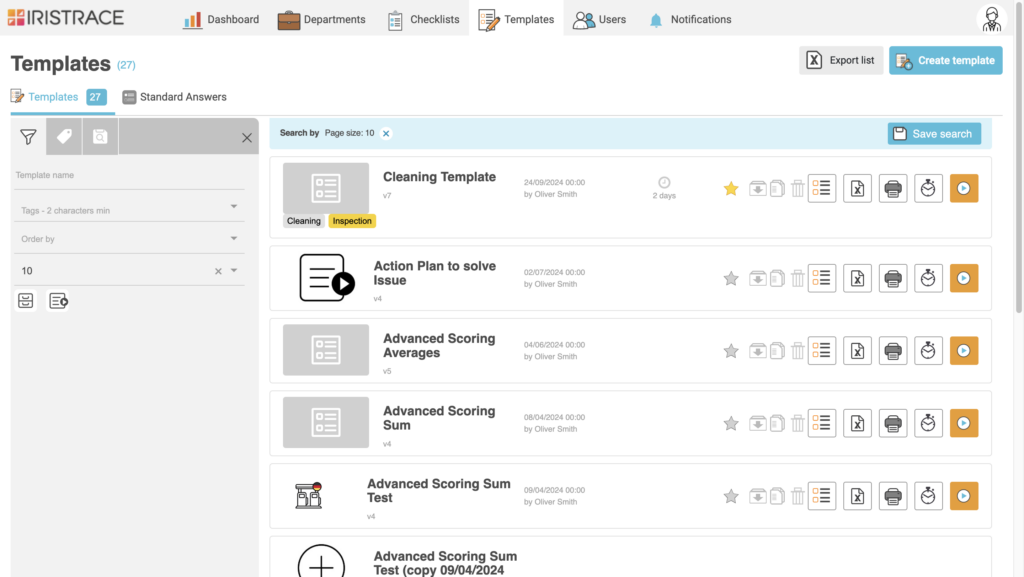
1. Select the template from the template list #
Go to the template list and select the one you want to configure.
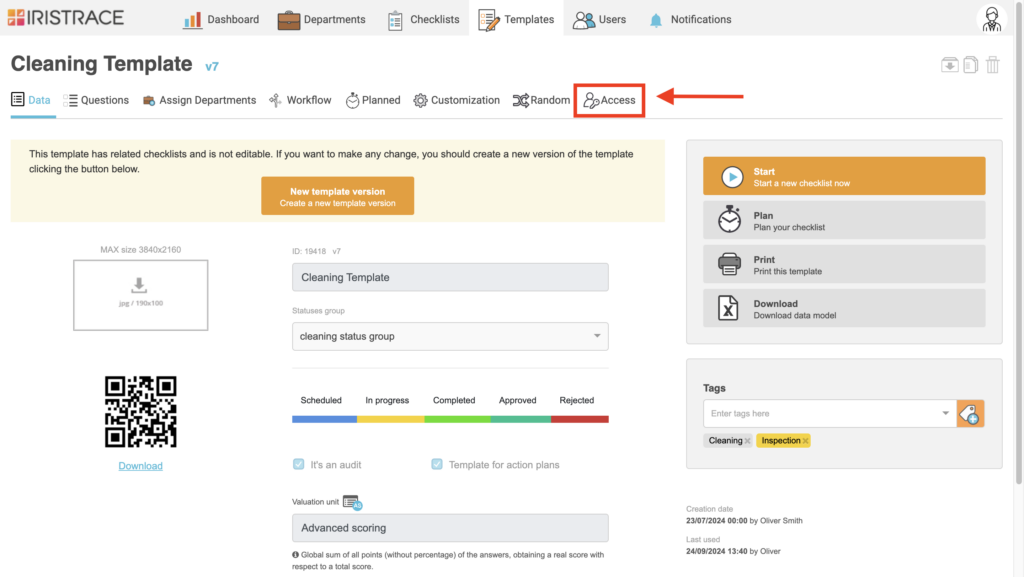
2. Configure access from the template menu #
Once the template is selected, open the options menu and choose “Access.”
Here, you will see a checkbox with the message: ‘Restrict the template to users (when this checkbox is enabled, all users will only see their own checklists)’. Once you select this checkbox, the access control functionality will be activated, and the permissions, which are by default set to ‘View all checklists’, will change to ‘View only own checklists’. As a result, all users will be shown in the central column.
3. Adjust visibility permissions #
Here you will find the access control settings for checklists generated from the selected template. You will see three columns:
- Access to all: Users with access to all checklists.
- Access only to own: Users who can only view checklists they have created or been assigned to.
- No Access: Users who cannot view or access the checklists or the template.
You can drag and drop users between columns to adjust their permissions.
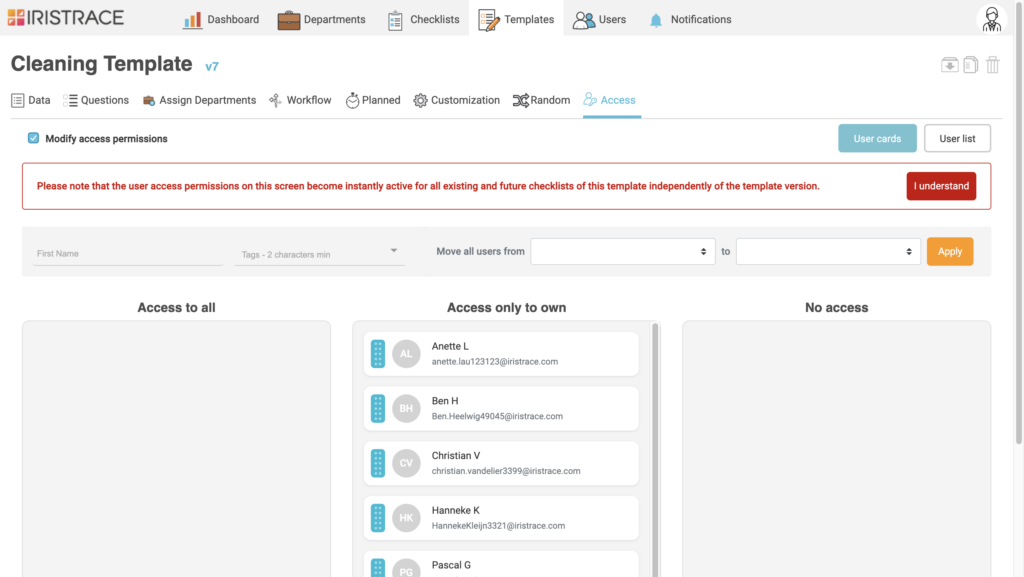
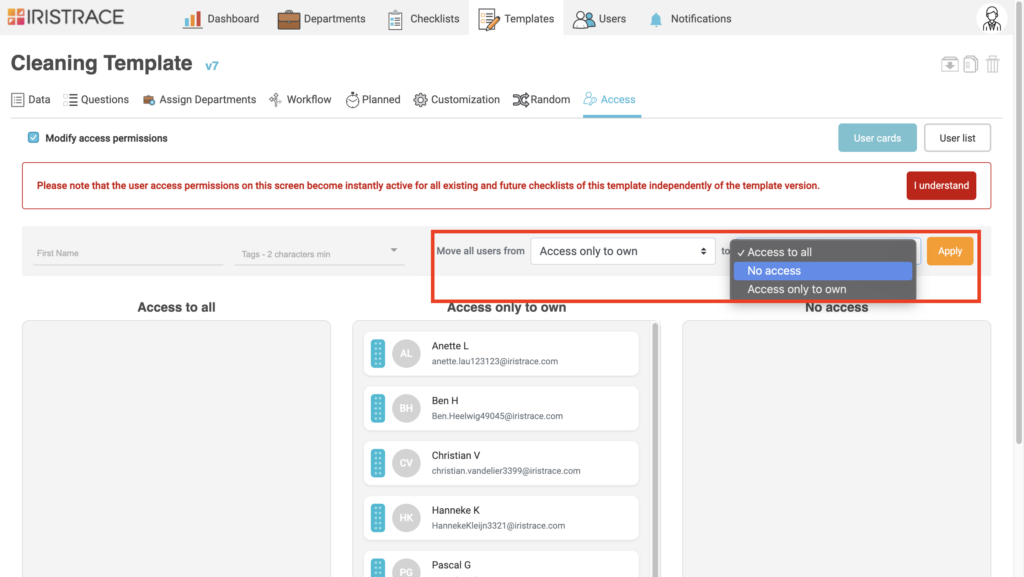
4. Filtering and bulk user management #
To facilitate managing a large number of users, you can move users from one column to another in a single step, streamlining the configuration process. Select the “from” column, then the “to” column, and confirm.

You can also filter first by name (the search also includes user emails) and/or by tags, and then move only the filtered users from one column to another.
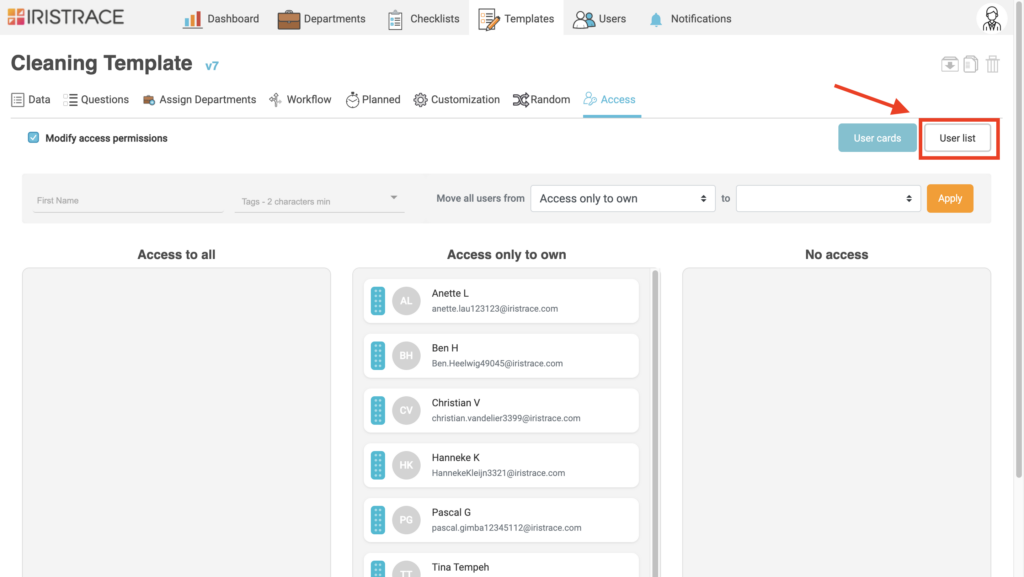
5. Switch to list view #
If you prefer, you can switch from column view to a list view. This list shows all Iristrace users, allowing you to select and adjust permissions for each user individually.
You can select the template access permission for each user individually, or you can filter by user attributes to perform bulk assignments.
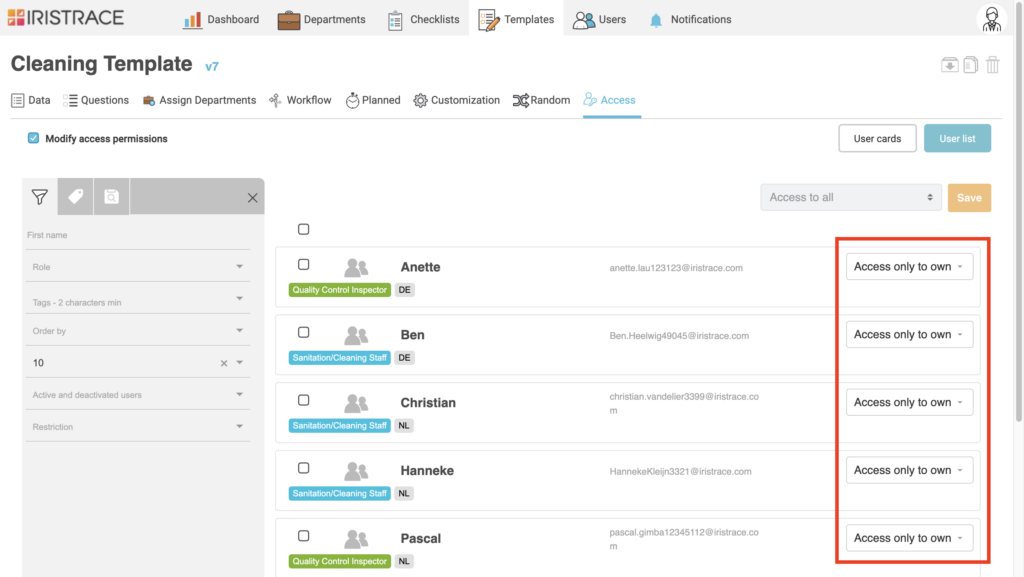
The selection box at the top of the list allows you to select all users on the screen, and if there are more users on subsequent pages, you can select them all with a single click. Note that template permissions are activated immediately once applied.
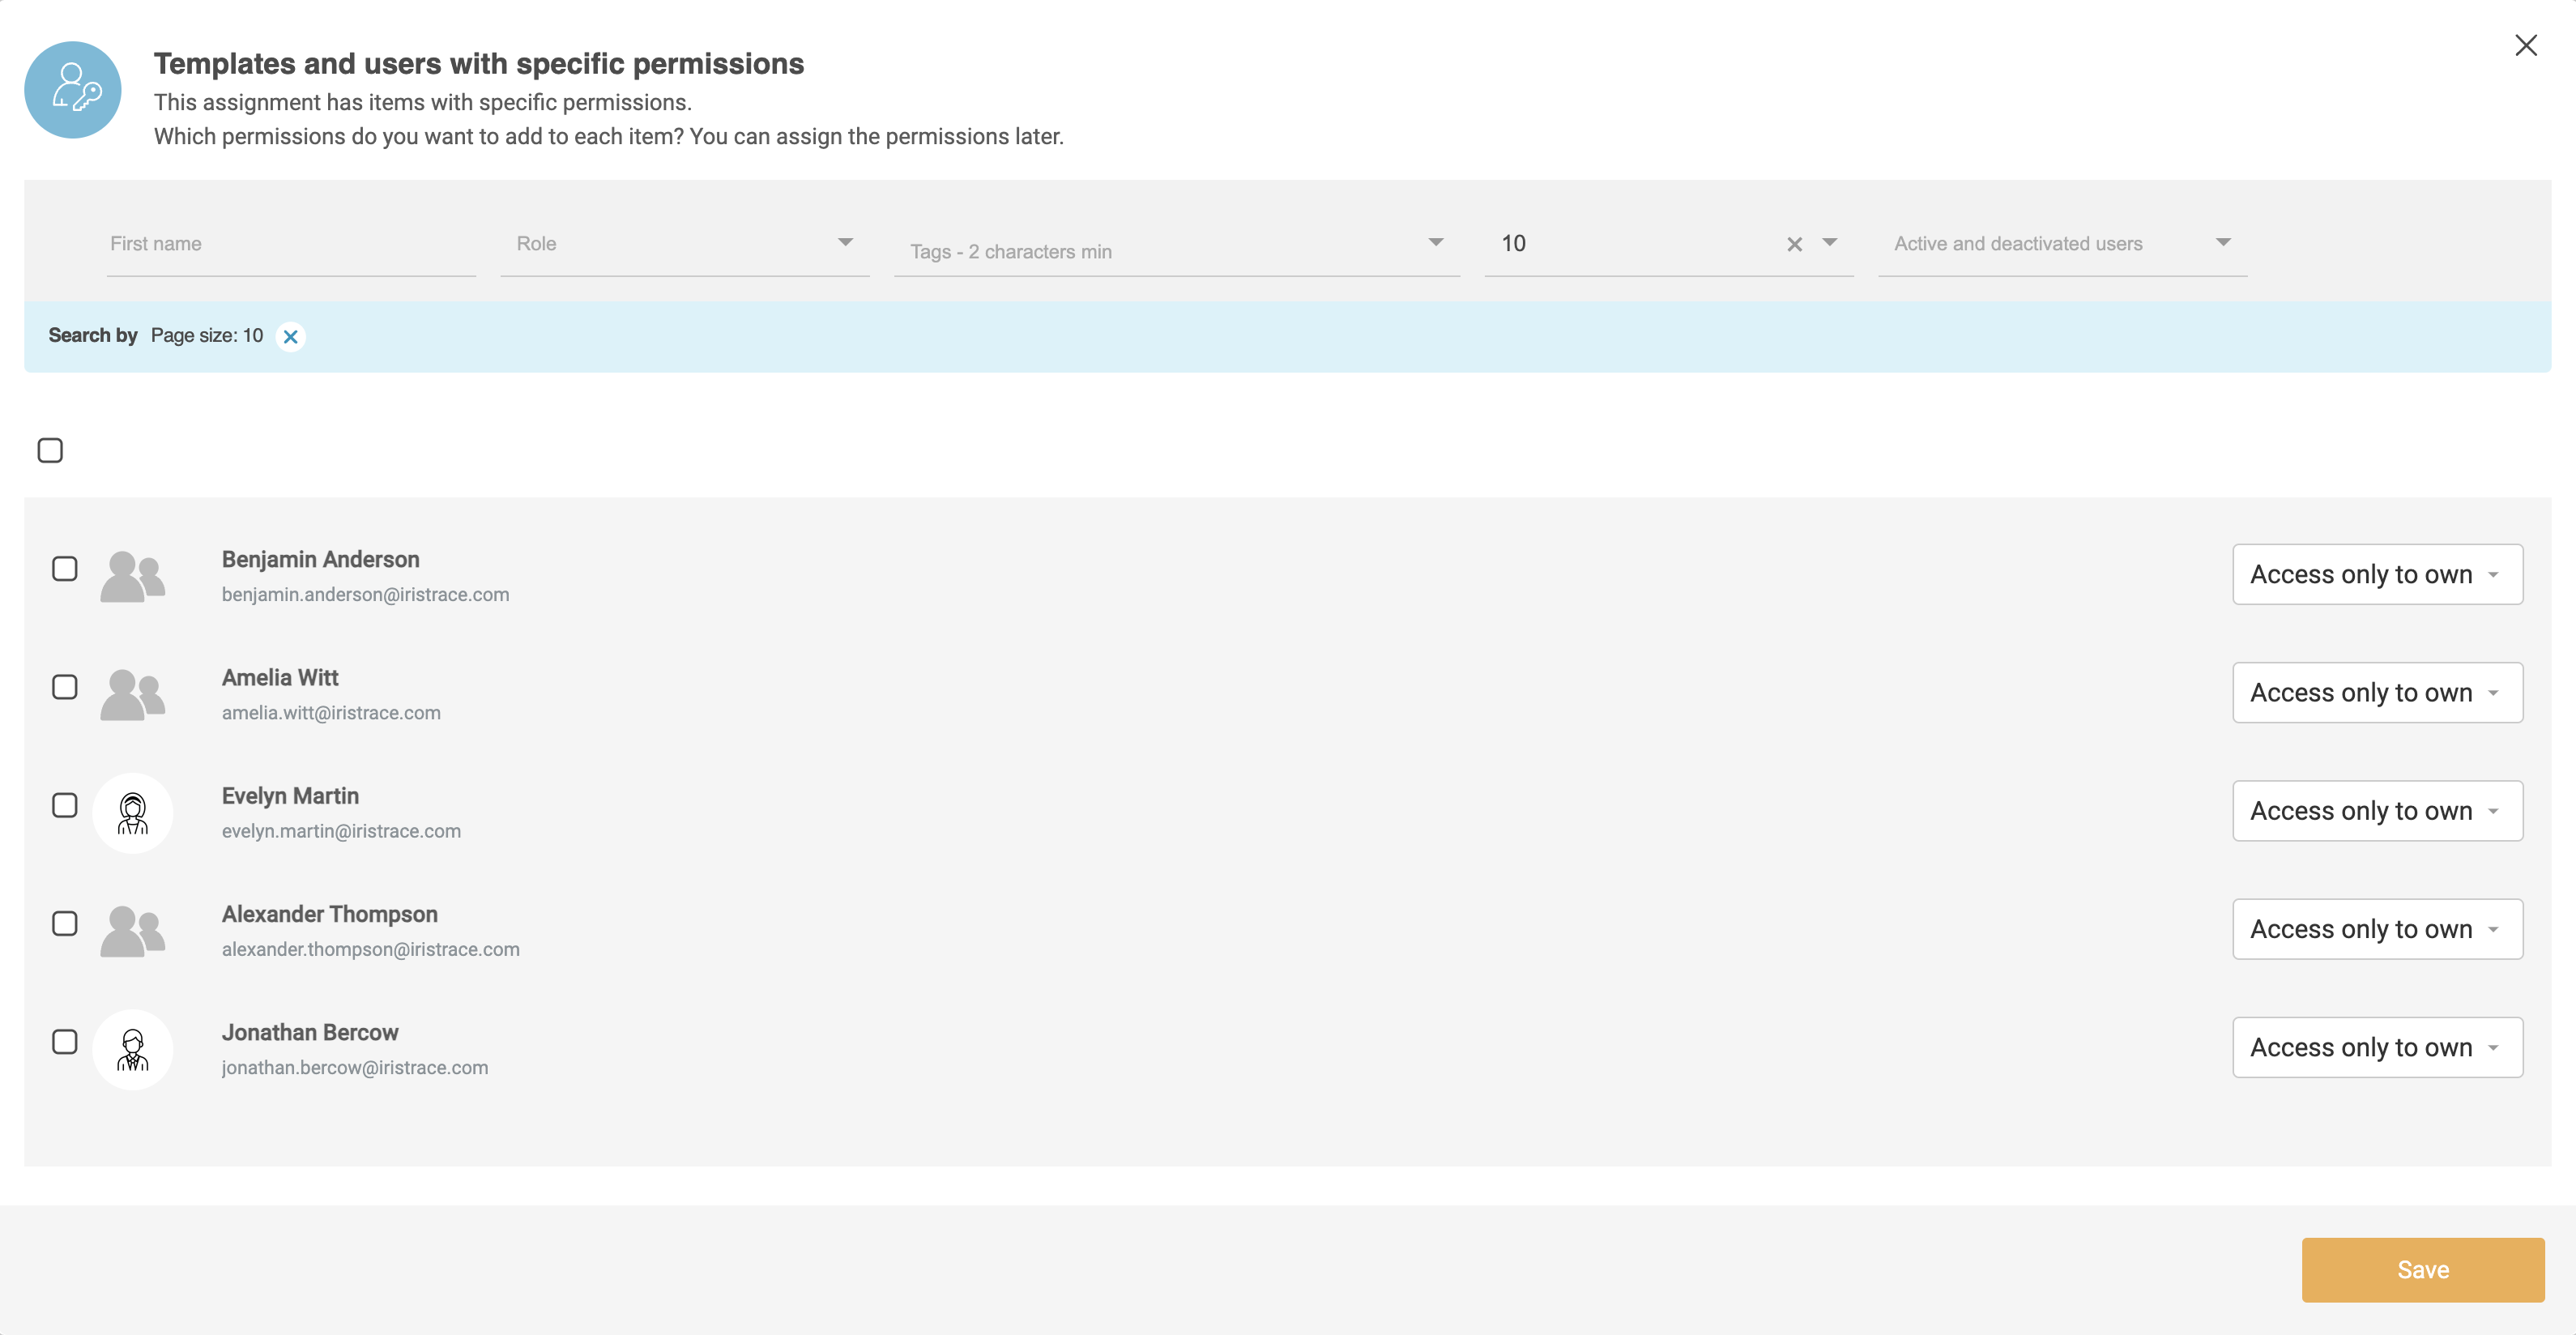
Assign New Departments to a Template #
- When assigning a template to a department, a pop-up window will appear.
- In this window, you can select the access permissions for the users in that department for the specific template.
Practical examples #
- Mystery Client: When you want all your users to complete the same template within the same department without seeing previous visits or the responses from other users.
- Real Estate: Imagine you have a QR code for each office, and you have assigned cleaning personnel, electricians, IT staff, and furniture removal personnel to each office. You might want to restrict cleaning personnel from starting checklists via QR code scanning that are specific to IT, furniture, or electrician personnel.
- Work Permit: Allows all users to request a work permit individually, but only the supervisor can review, assign, and close the permit after the work is completed. Other department users will not be able to see it.
- Suppliers: Provide your suppliers with a form to complete, and collect all their responses in a single department to compare results. The suppliers will not see each other’s responses.