Massively import new checklists or checklist responses into Iristrace in a simple way.
Iristrace offers the possibility of mass uploading new checklists and responses to existing checklists through a plain text file in CSV (“Comma Separated Values”) format.
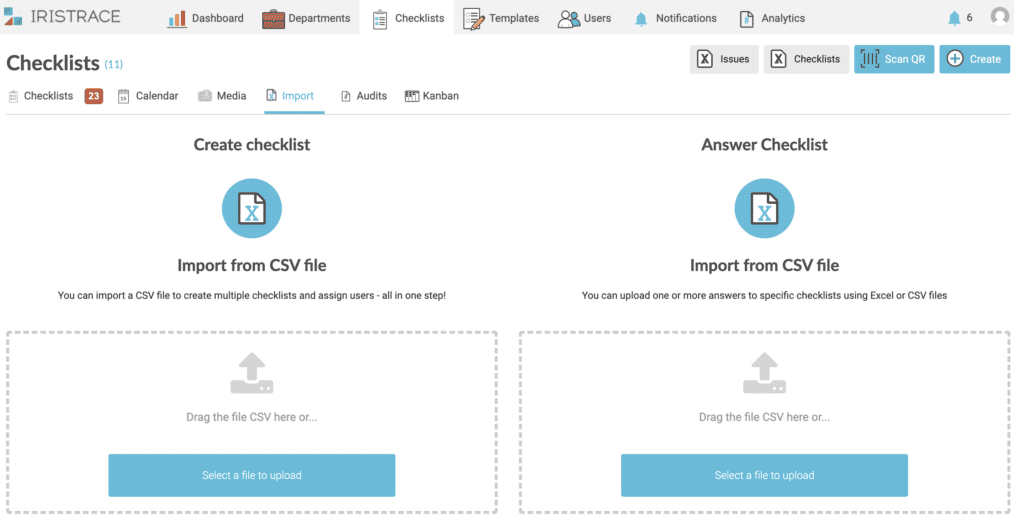
Go to the “Import” tab, in the “Checklists” section. #
In the “Checklists” section, access the “Import” tab.
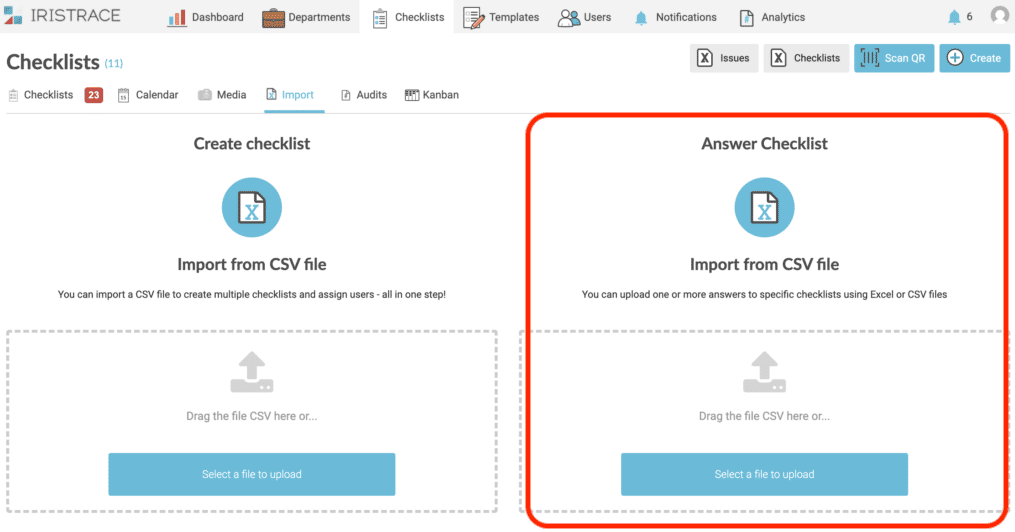
Here you have two different sections to upload two different files:
- Create checklists
- Answer checklists
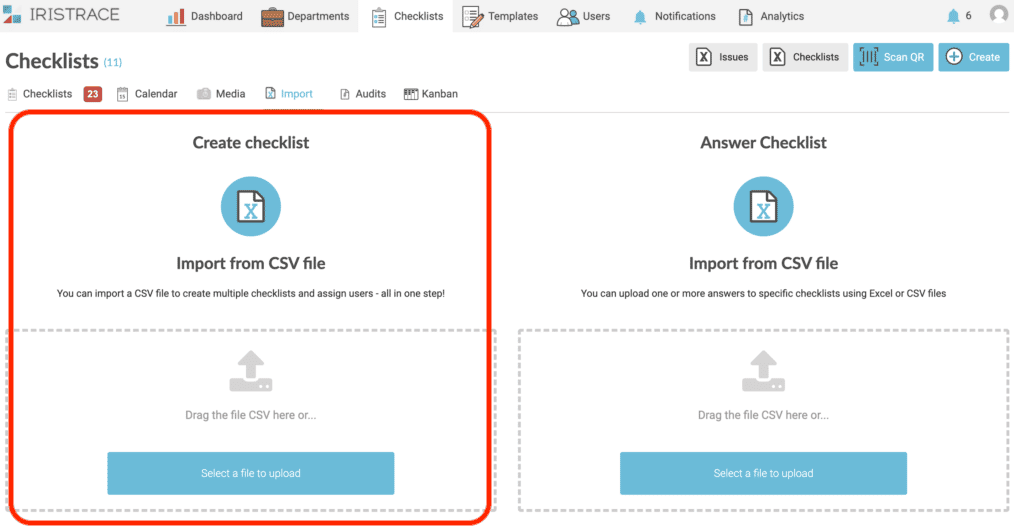
2. Create checklists #
This option allows you to incorporate a file with the checklists that you want to create massively.
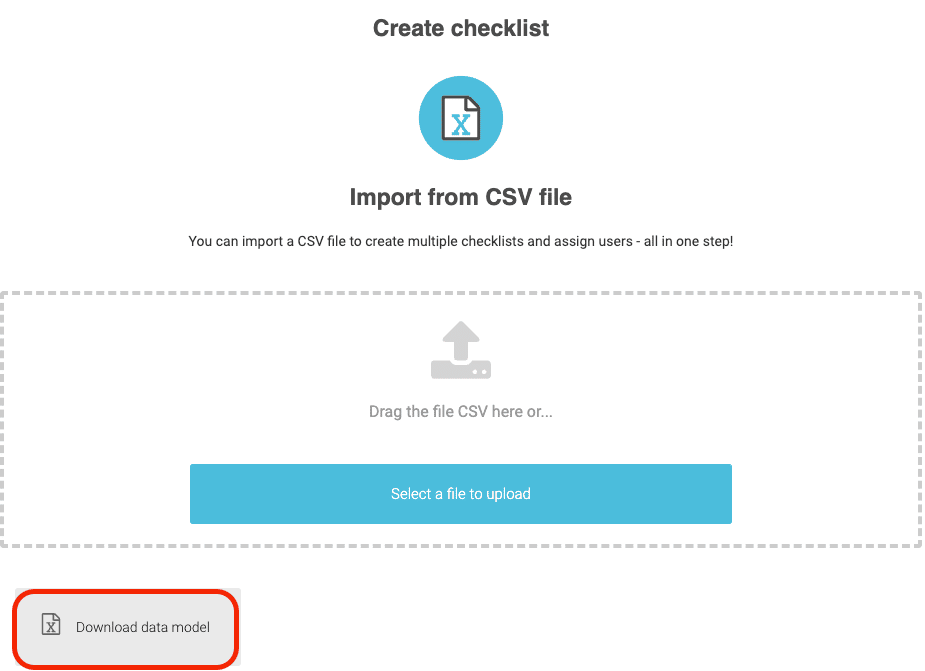
2.1. Upload file format #
The format of the file to be uploaded can be obtained by downloading the data template at the bottom of the section itself.
Basically this file contains the data of:
- Template identifier in Iristrace.
- Department identifier in Iristrace.
- Audit code. This field is optional, but it must always appear as a column even if it is empty.
- Planning day of the checklist to be created.
- Month of planning of the checklist to be created.
- Planning year of the checklist to be created.
- User(s) to be assigned. Remember that the user refers to the email address used to access Iristrace. You can assign more than one user, separating the emails by commas.
- Additionally, you can indicate up to 4 tags that will be associated to the checklist to be created.
In this file you have the information of the reference identifiers of templates, departments, users configured in your Private Cloud so that you can easily use it when filling in the file.
IMPORTANT – The file to be uploaded must have the CSV format encoded in UTF-8 for it to work correctly and for the characters to be properly interpreted by the system.
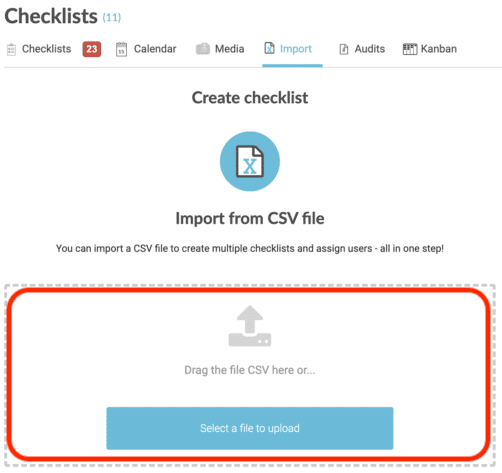
2.2. Upload the file to be uploaded #
Once the file is generated you can drag it or select it from the corresponding option.
If there are errors with the template or department ids the file cannot be loaded and an error message such as “The file cannot be processed” will appear.
IMPORTANT – There is an import limitation of up to 100 records per file, therefore, if you need to load a larger volume you will have to split the information into several files with this limit of rows. Remember that each file must contain its initial header row with the name of each column.
2.3. Review the preloaded file #
Once the system has preloaded the file, a list of the records to be loaded will appear showing the information of the checklists to be loaded.
If there is a problem with any of the records, it will be marked in red.
2.4. Select the records to be loaded #
You can select the records to be loaded individually or by checking the all option.
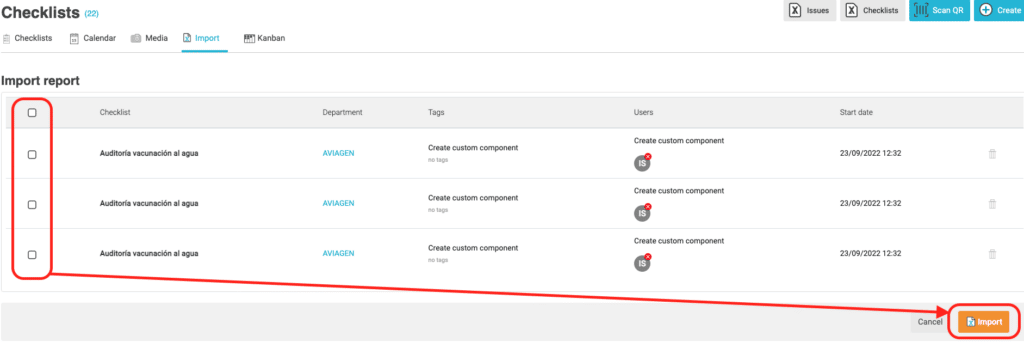
Once imported, you can check the checklists created in the “Checklists” section.
3. Answering checklists #
For the option to import responses from checklists you can do it for existing checklists or for new checklists that will be created in the same process of adding the responses.
The process to follow to answer checklists in bulk is similar to that of creating checklists.
3.1. Upload file format #
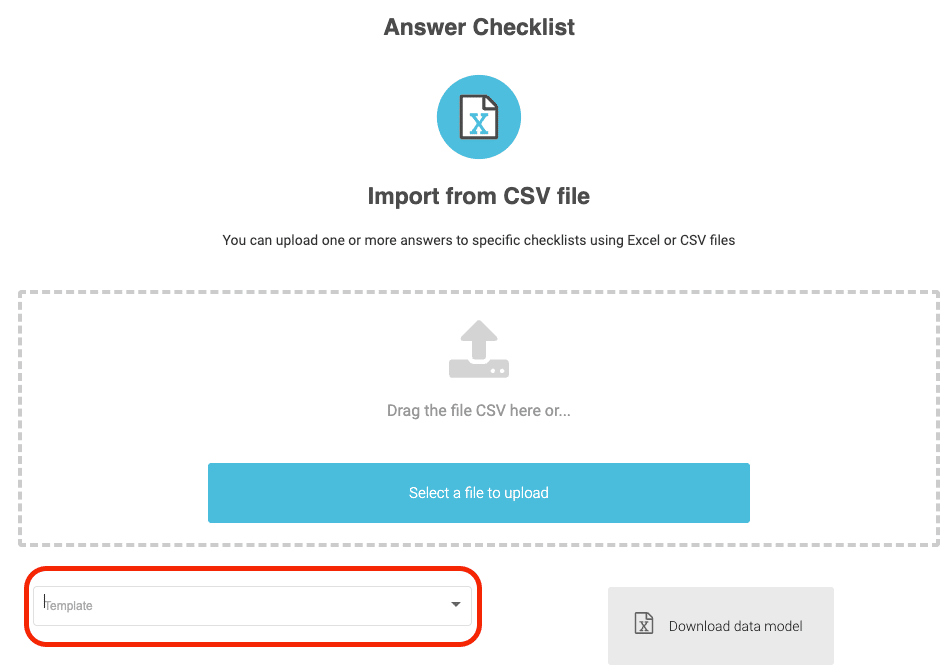
The format of the file to be uploaded can be obtained by downloading the data template at the bottom of the section itself, previously selecting the template of the checklist you want to answer.
Basically this file contains the data of:
- Identifier of the checklist to be answered.
- Department identifier in Iristrace.
- The answer information for each of the questions is contained in the downloaded data model file.
IMPORTANT – The file to be uploaded must have the CSV format encoded in UTF-8 for it to work correctly and for the characters to be properly interpreted by the system.
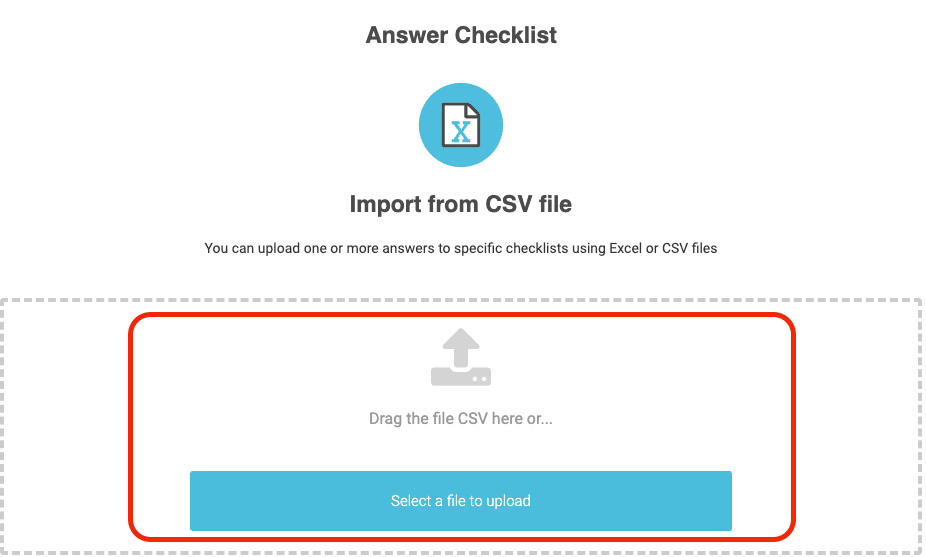
3.2. Upload the file to be uploaded #
Once the file is generated you can drag it or select it from the corresponding option.
If there are errors with the department id the file cannot be loaded and an error message like “The file cannot be processed” will appear.
IMPORTANT – There is an import limitation of up to 100 records per file, therefore, if you need to load a larger volume you will have to split the information into several files with this limit of rows.
2.3. Review the preloaded file #
Once the system has preloaded the file, a list of the records to be loaded will appear showing the information of the checklists to be loaded.
If there is a problem with any of the records, it will be marked in red.
2.4. Select the records to be loaded #
You can select the records to be loaded individually or by checking the all option.
Once imported, you can check the updated checklists in the “Checklists” section.