This guide is for existing users to help you understand the major changes in the Iristrace interface, with a specific focus on the new template versioning system. We’ll show you how to navigate the new design and manage your templates efficiently.
1. New Global Navigation & Interface #
The first thing you’ll notice is the updated look and feel of the Iristrace platform. The main navigation has been streamlined for a cleaner experience.
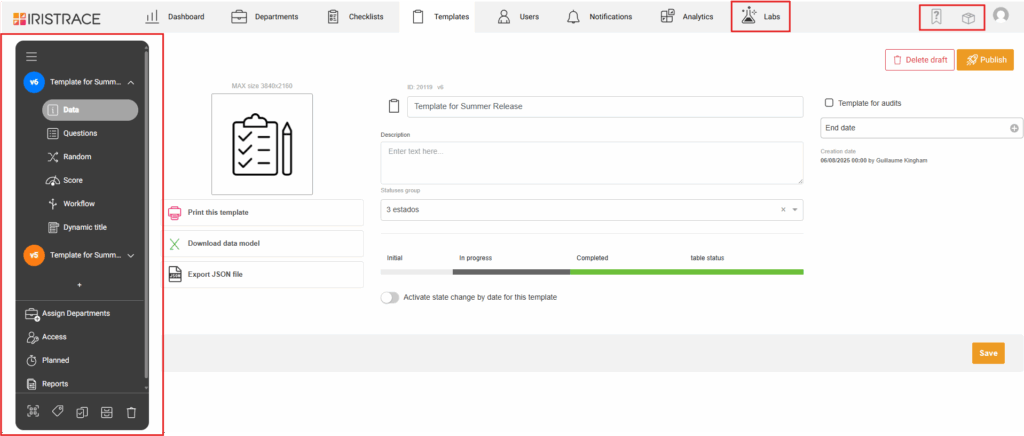
- Header Navigation: The header now has a new, modern style. You will find links to new features like the “Iristrace Labs,” as well as the HelpDesk and Changelog links.
- Template Editor Side Menu: The template editor now features a reorganized side menu. It is designed to be cleaner and more efficient by grouping related settings and introducing an expandable menu to support multiple template versions.
2. How Template Versioning Works #
Template versioning allows you to make changes to a template without affecting the checklists already created. This is managed through two states: a Draft and a Published version.
Draft vs. Published #
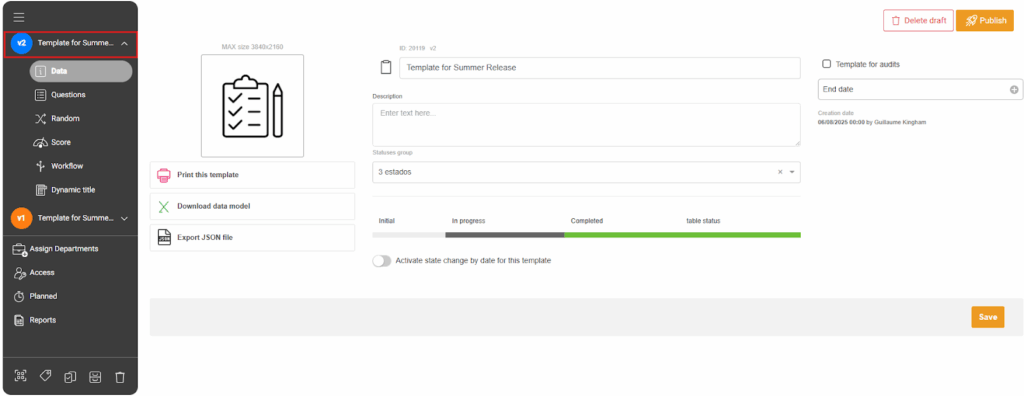
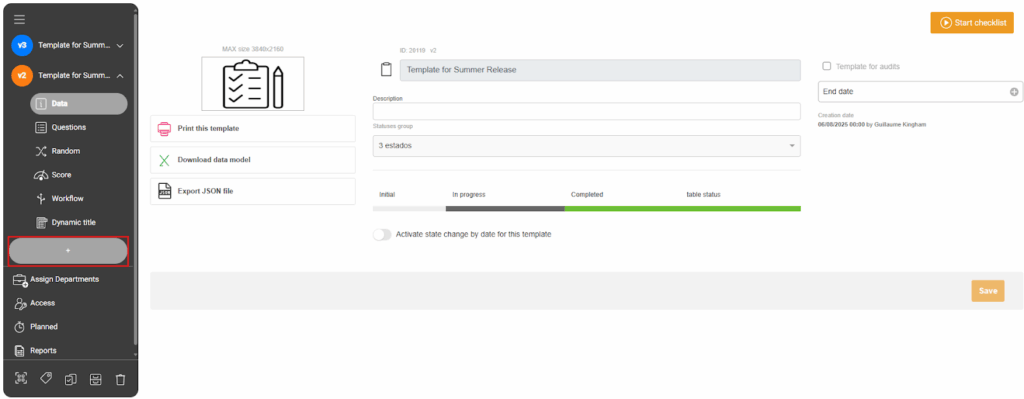
- Draft (Blue): This is your working version. When you create a new template or a new version of an existing one, it will be in draft mode. All changes you make to the Data, Questions, Random, Score, Workflow, and Dynamic Title sections are saved here. Draft versions are indicated by a blue icon next to the version name.
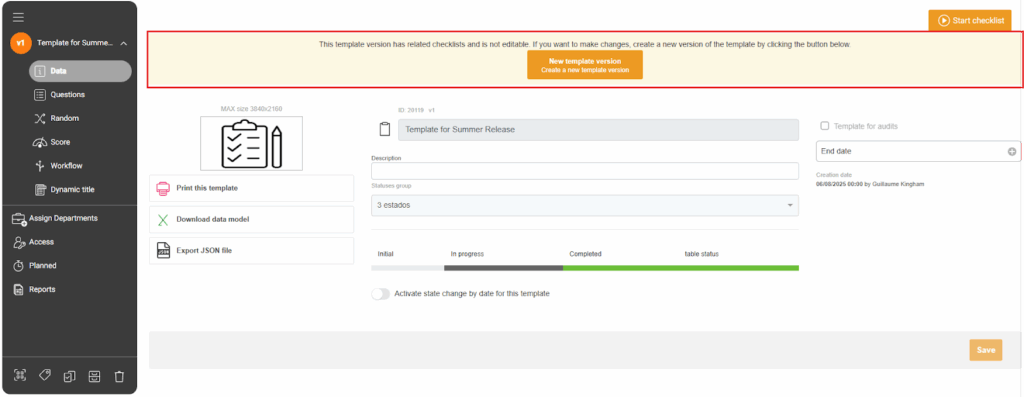
- Published (Orange): This is the live, active version of the template. All users will create new checklists from the most recently published version. Once a template is published, these version-specific sections become non-editable. Published versions are indicated by an orange icon.
Creating a New Version #
To make changes to a published template, you must first create a new version.
1. Navigate to your template in the sidebar. You will see a published version (orange icon) and a banner at the top of the editor.
2. Click the Create a new template version button in the banner.
3. A new draft will appear at the top of your version list in the sidebar (blue icon). You can now edit the questions, workflow, and other version-specific settings.
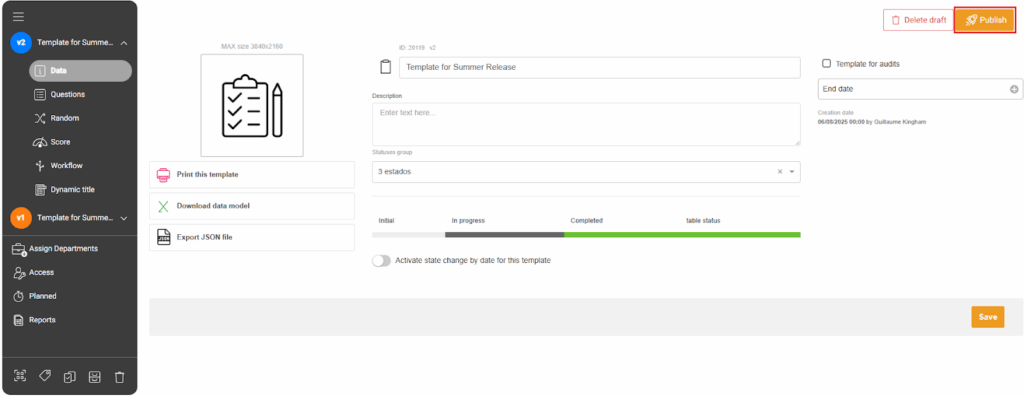
Publishing Your Changes #
When you are ready for your changes to go live, click the Publish button at the top of the screen.
- Important Note: A new template version can only be reverted back to a draft if no checklists have been created from it yet. Once a checklist is created, this version becomes permanent.
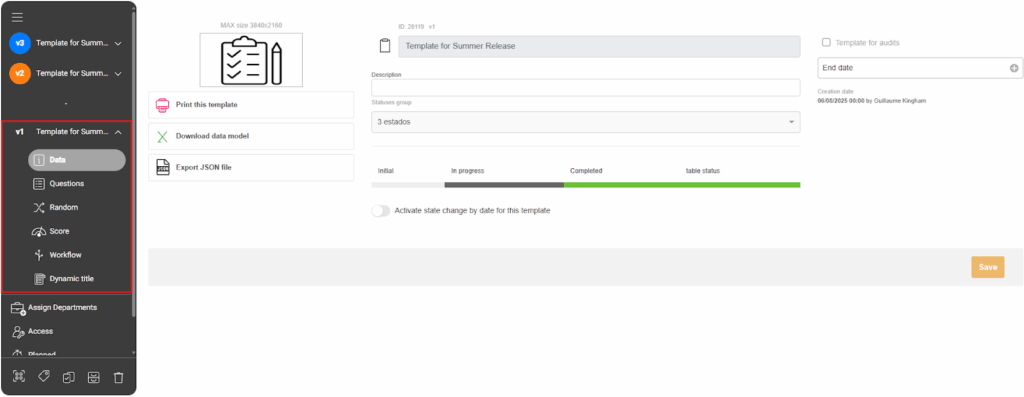
Viewing Old Versions #
The sidebar now acts as a version history. You can expand the menu to see all published versions of a template.
- Simply click on an older version in the list to view its contents. This allows you to compare different versions and understand what changes were made over time.
- Older versions are not editable.
3. Version-Specific vs. Global Settings #
Some settings affect only the version you are editing, while others apply to all versions of the template.
Version-Specific Settings #
These settings are tied to a specific version and can be modified in a draft without affecting other versions:
- Data
- Questions
- Random
- Score
- Workflow
- Dynamic Title
Global Settings #
These settings apply to all versions of a template and are managed in their own dedicated section in the sidebar. Any changes you make here will be reflected across all published and draft versions.
- Assign Department
- Access
- Planned
- Reports
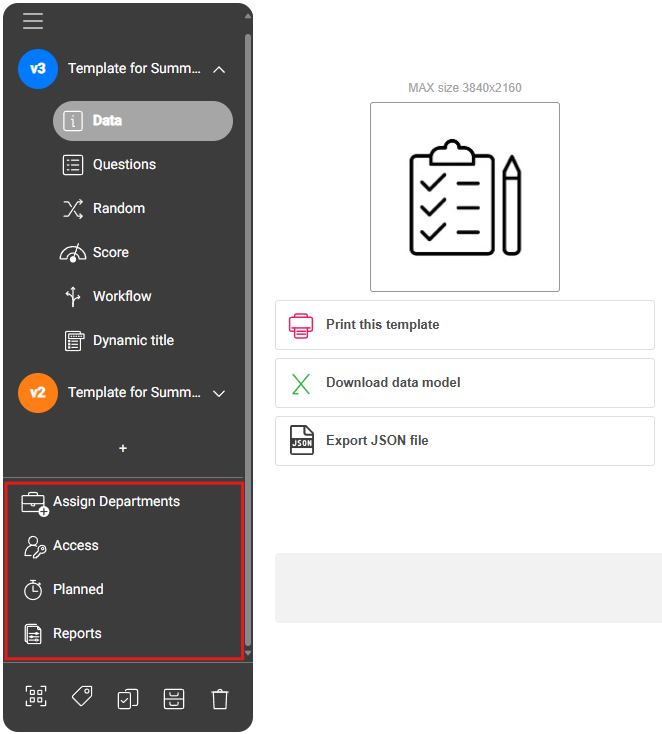
Template actions like assigning tags, duplicating, or deleting are now located in a hot bar at the bottom of the side menu.